|
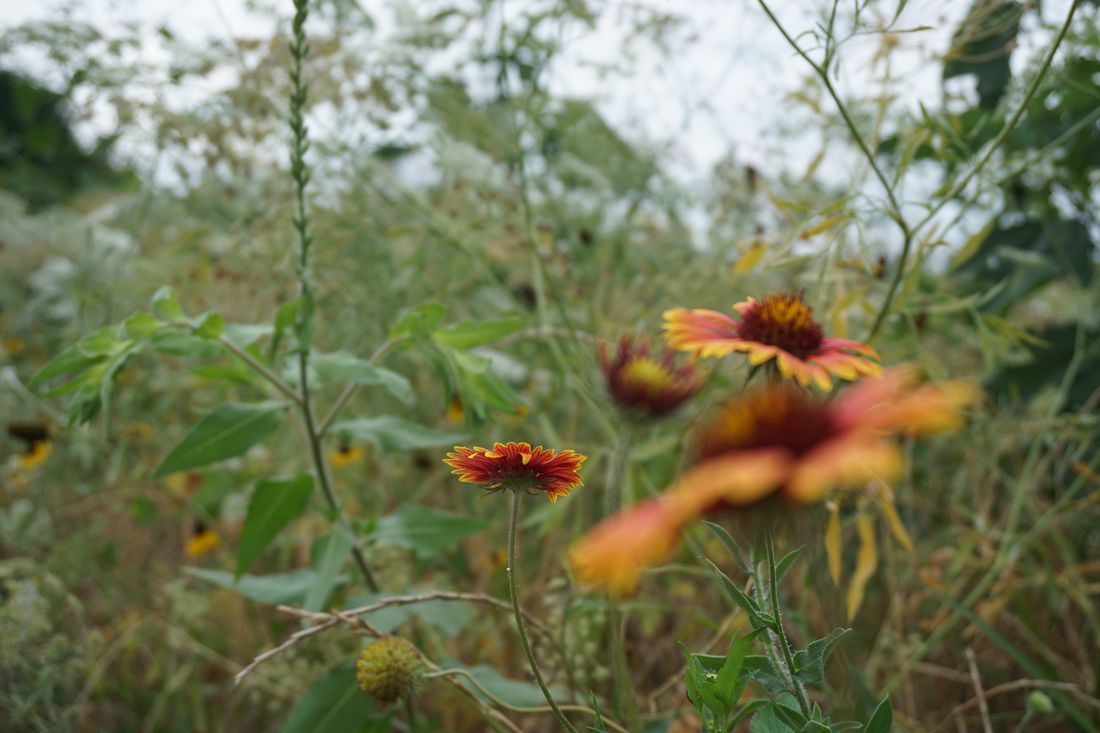
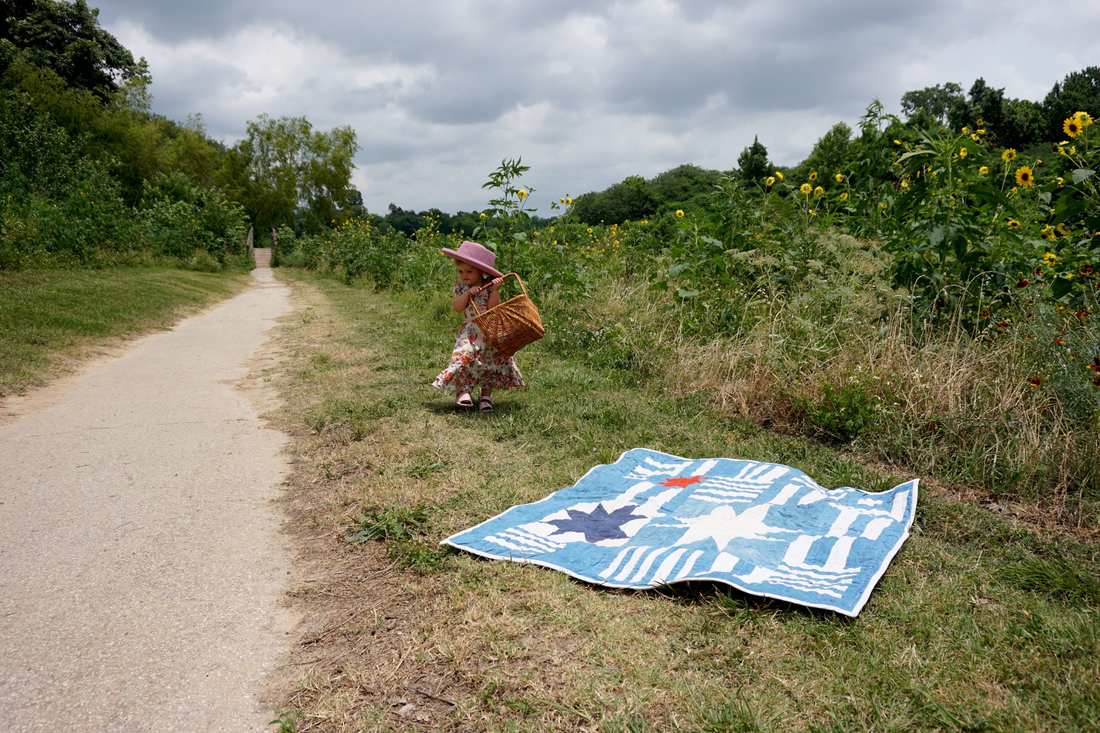
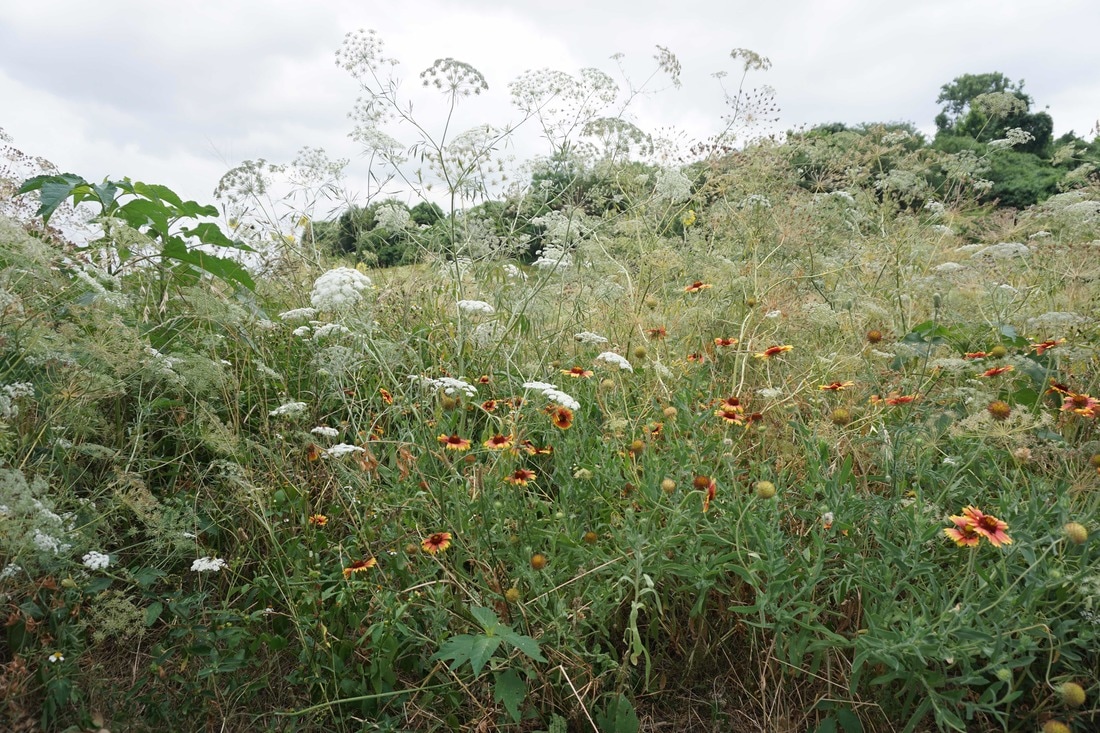
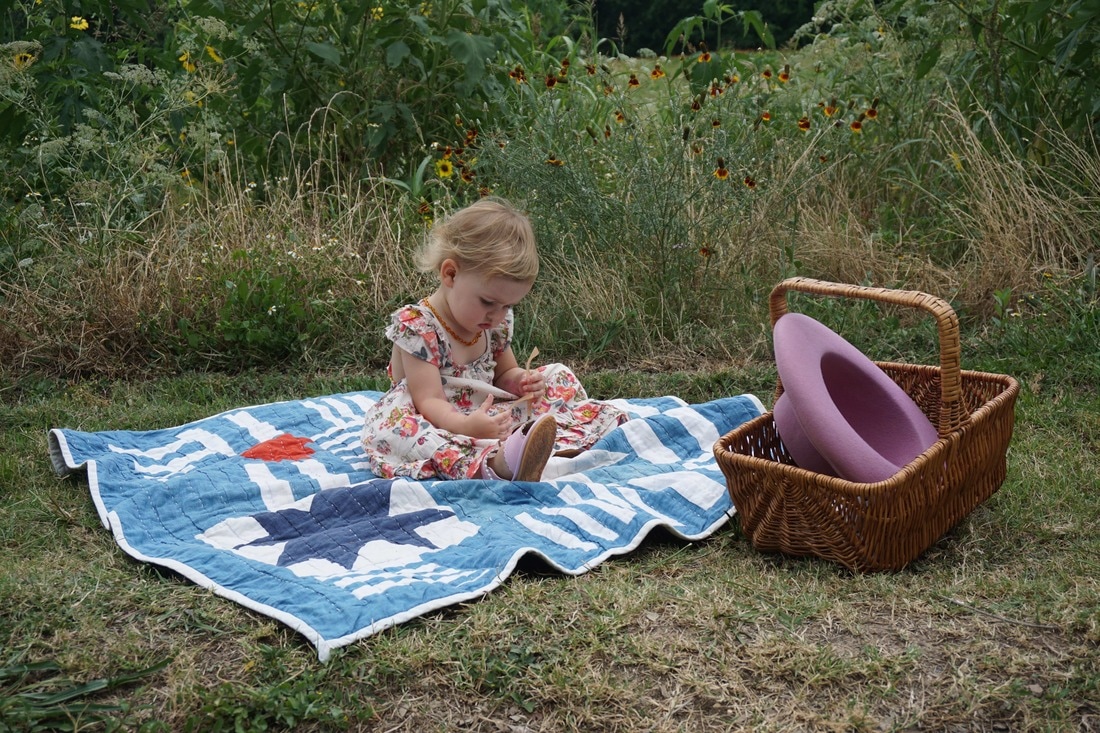
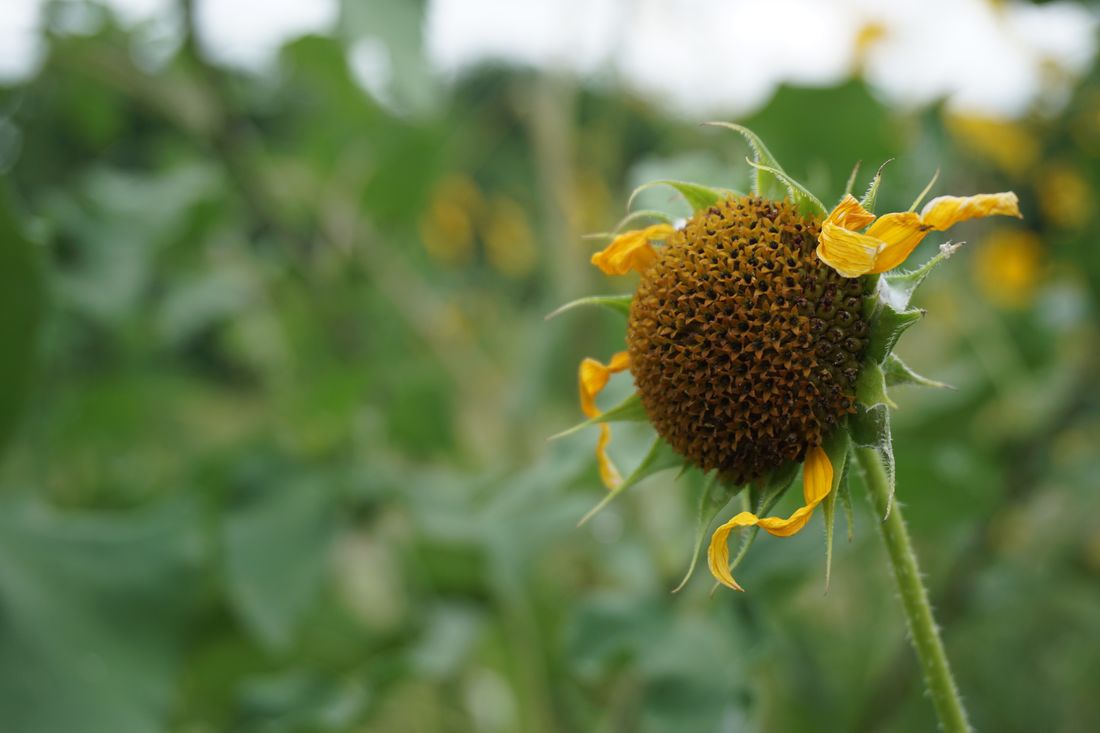
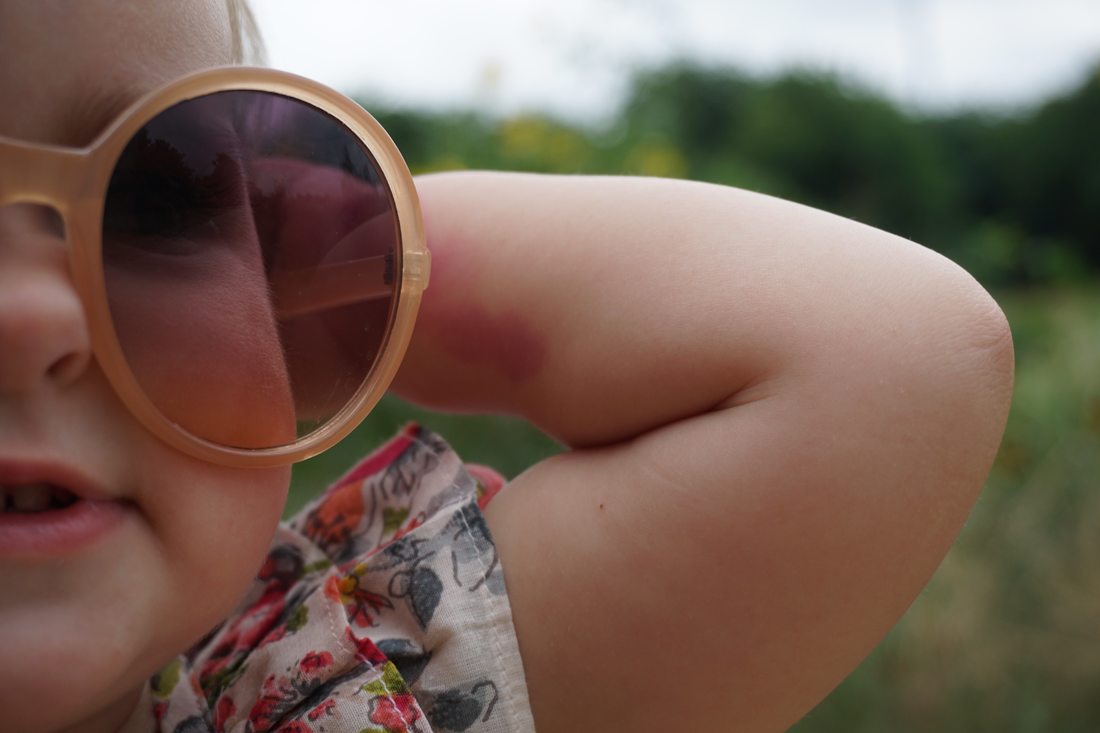
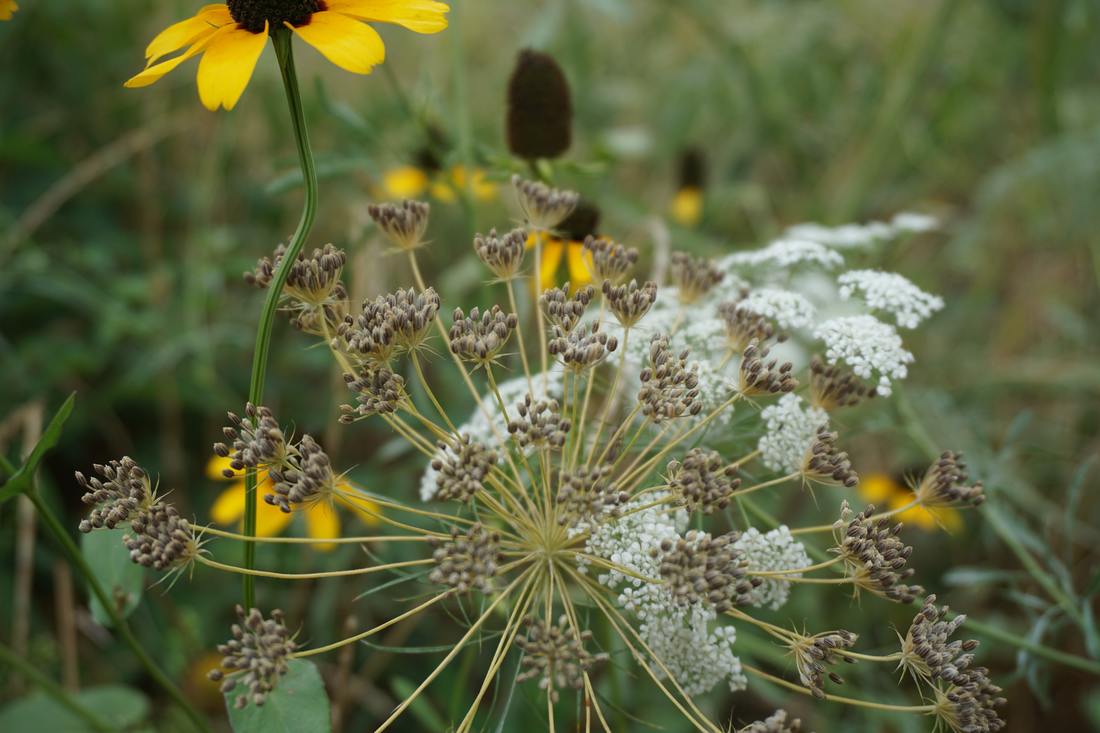
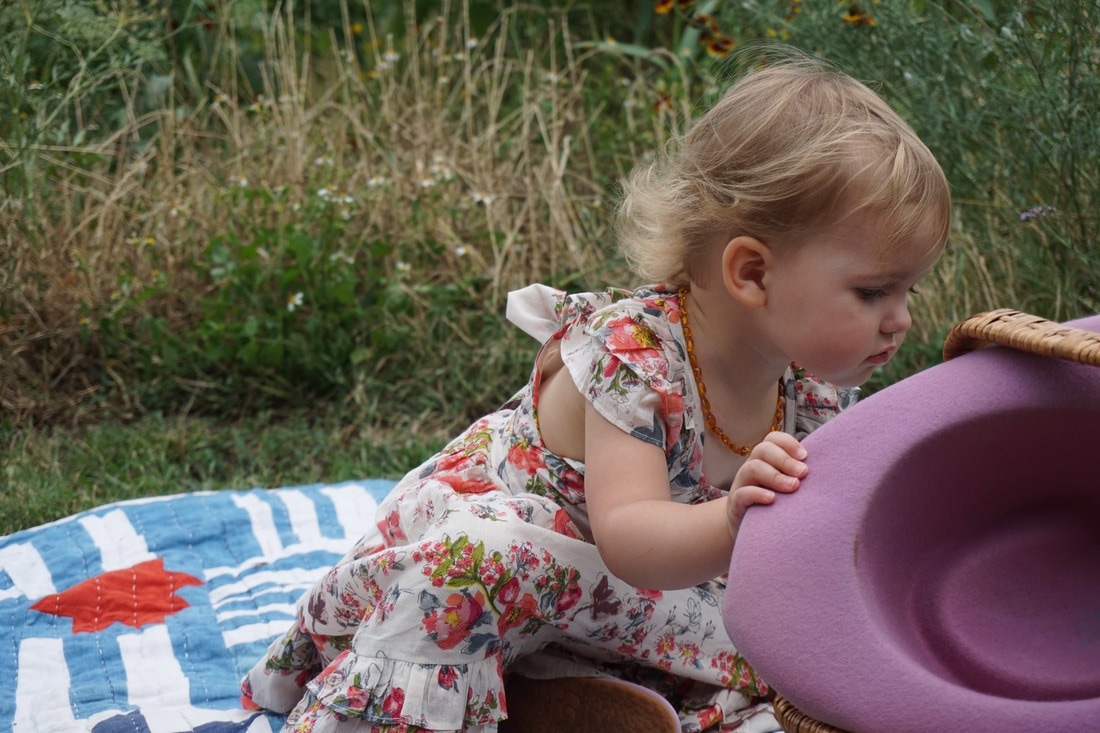
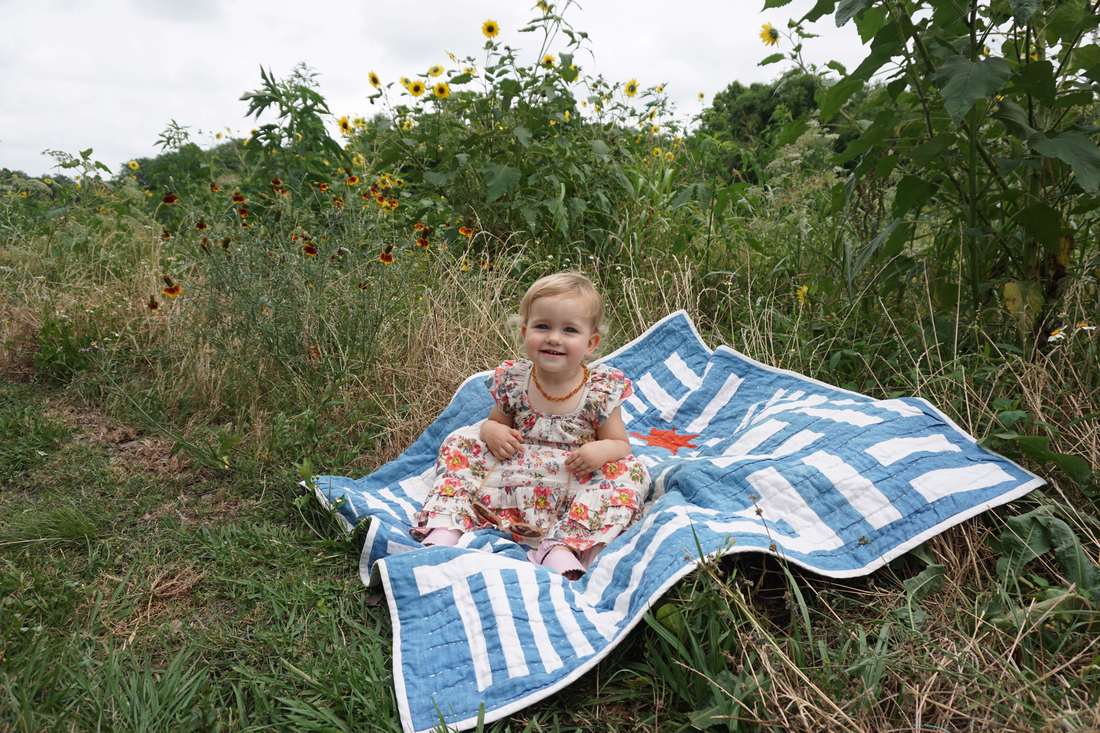
I love the indigo hillsides of bluebonnet season, but its the sunrise fields that come after bluebonnet season, that I most adore. The reds, ambers, blacks, whites, greens, and wheat blonde flowers, both blooming and crunchy, ready to drop seed, are my favorites. We took a walk along one of our cities bayous to capture what is in my daughters time, and the spring season in Texas, ephemeral. Our quilts go with us, always.
2 Comments
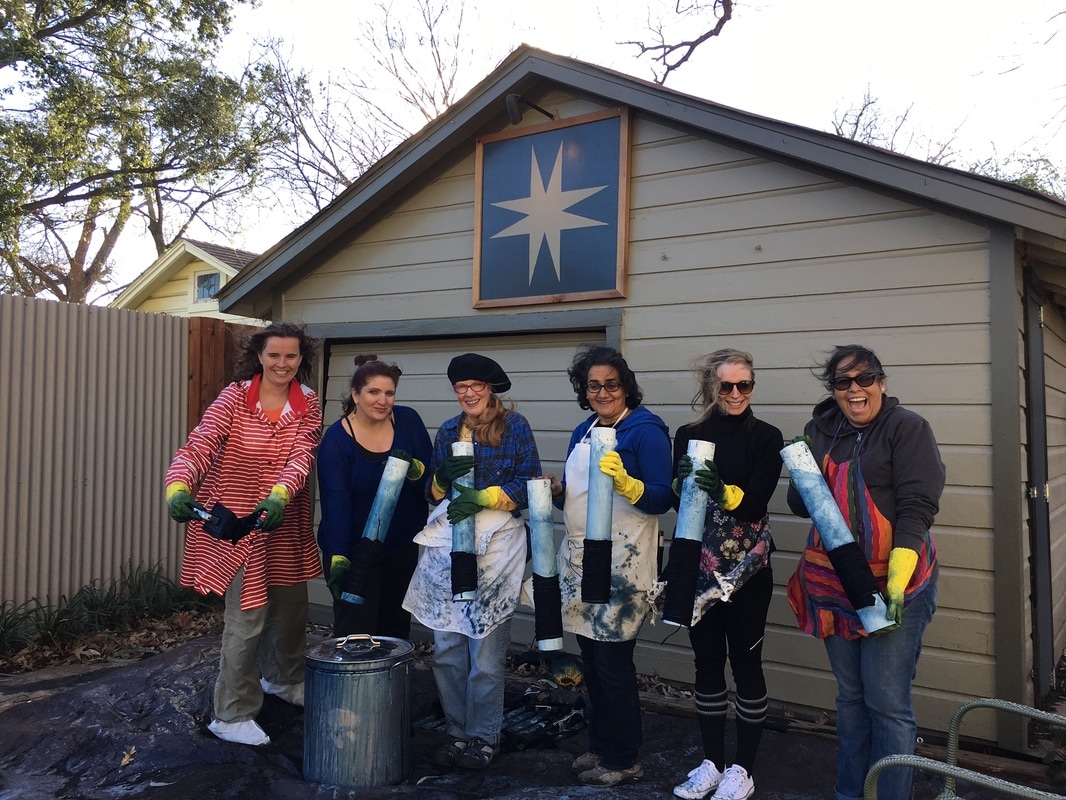
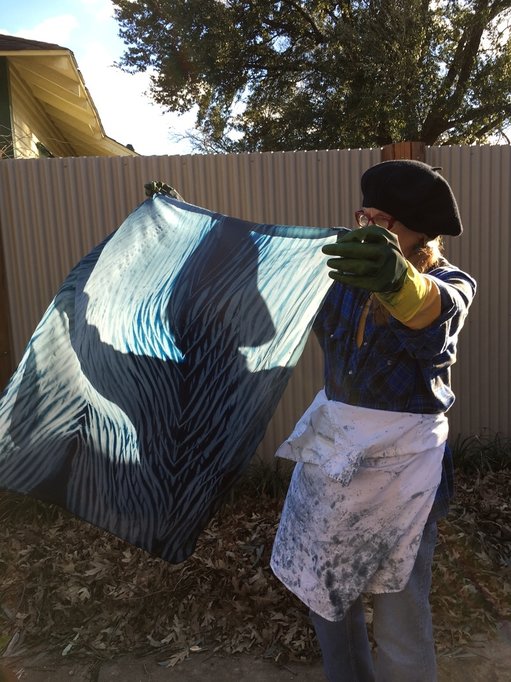
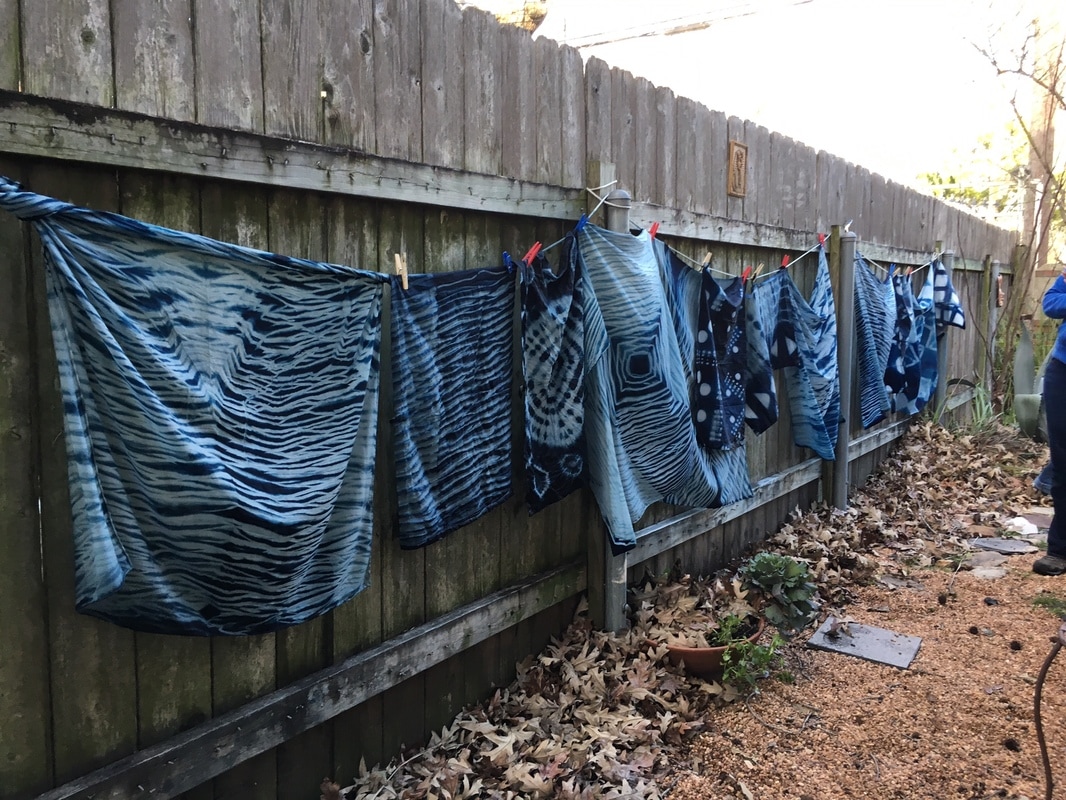
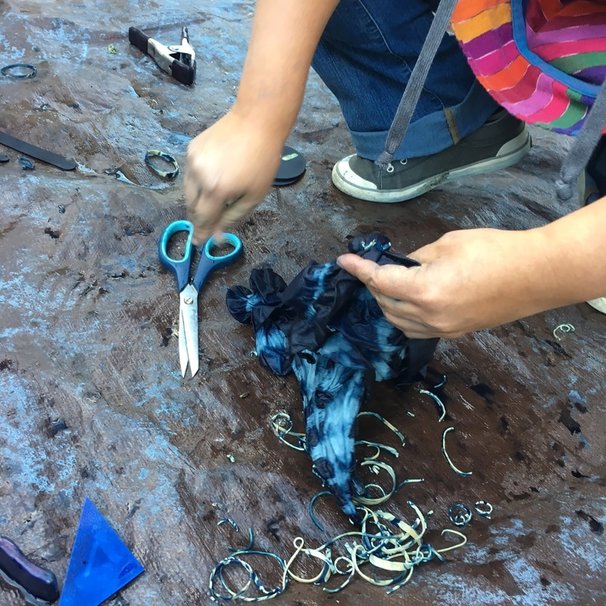
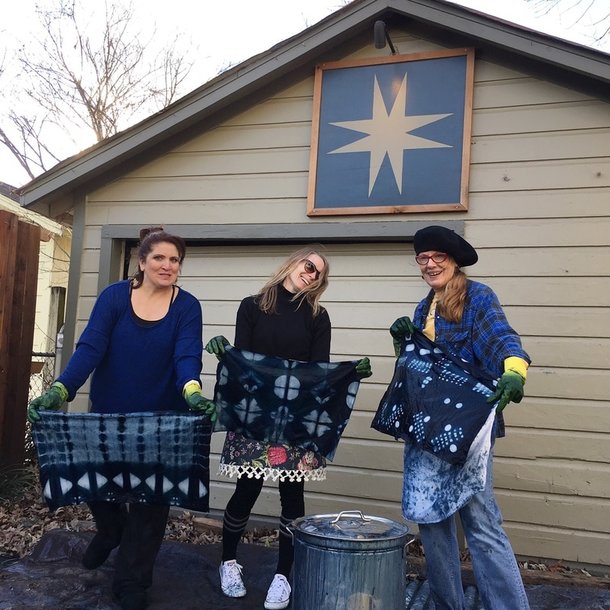
I hosted a beginner's Indigo Shibori Workshop here at my home in Downtown Houston this past weekend. It was a wild and windy day, but that didn't stop us from enjoying each other's company, and discovering new ways to wrap, fold, clamp and dye!
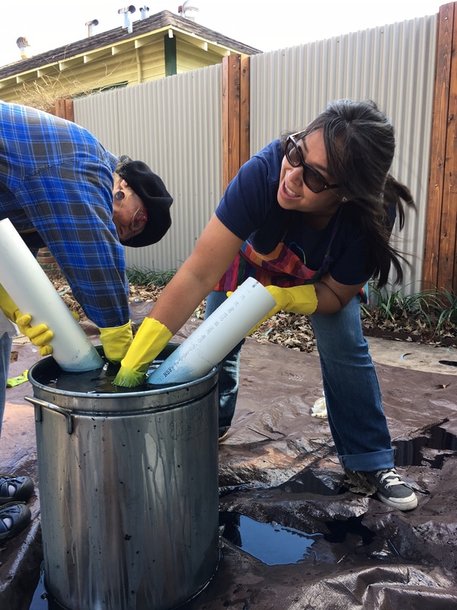
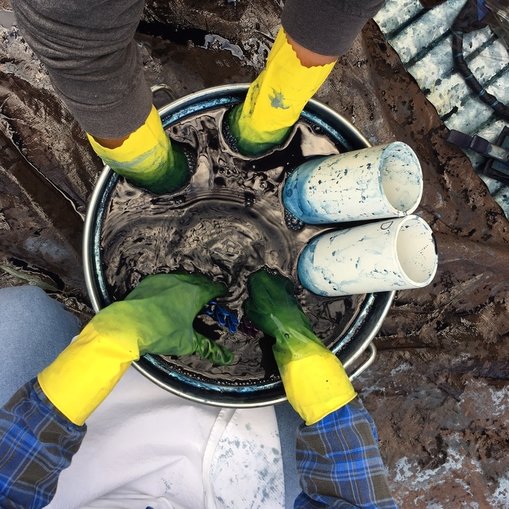
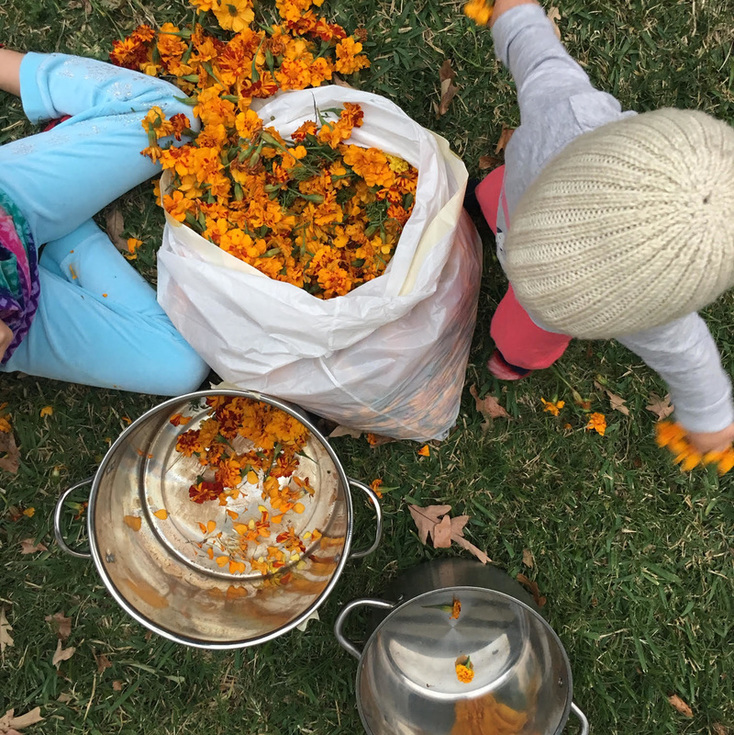
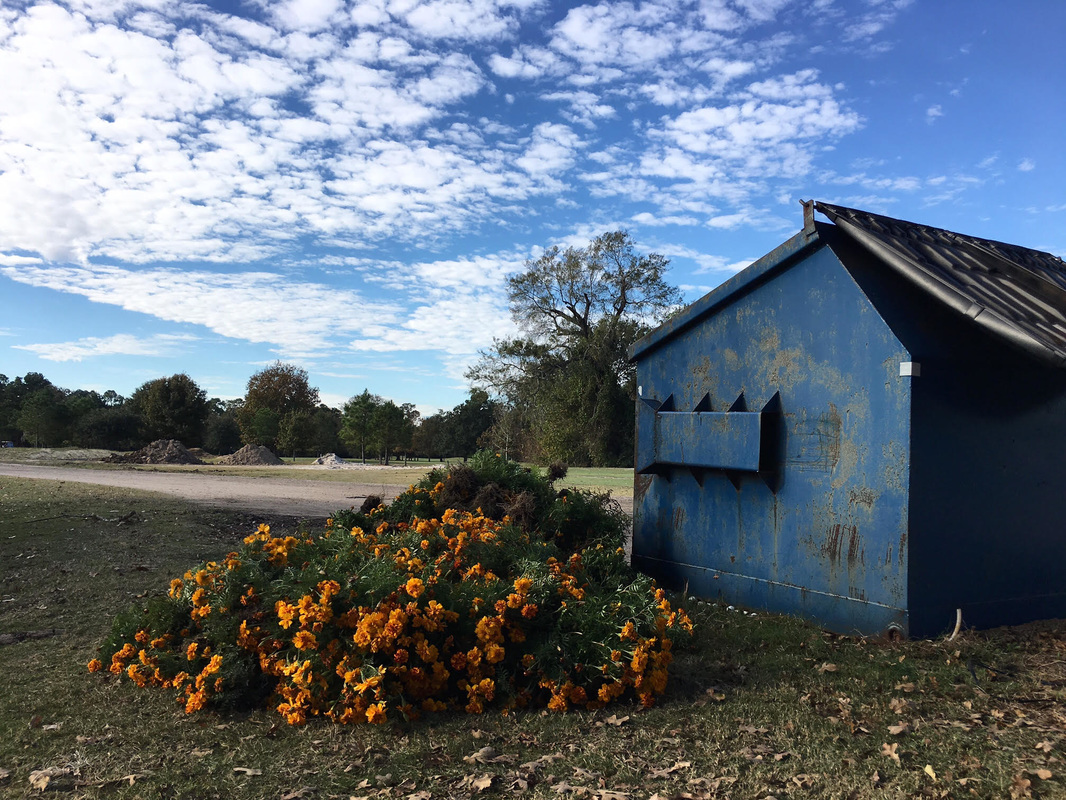
We started inside by sharing what brought each of us to the workshop, and where our interest lies. We had an origami artist in the group, an engineer who weaves and has had experience dyeing before, but not with natural materials. We had a special education teacher who is also a watercolorist. I loved the idea of her interest in watercolor crossing over to into natural dyeing, there are so many connections there with water and pigment. And then there were a few curious seekers, who left the workshop ready to start their own vats! We covered two shibori techniques which were invented in the mid 19th Century: itajime and arashi. With regards to an art form whose earliest samples date back to the 8th century, these itajime (fold and clamp) and arashi (pole wrapping) methods are modern in the realm of art history. We worked with a protein and a cellulose fiber: a 35" x 35" silk scarf and a linen dish towel. I was amazed at how each student took the process and folded their scarves a certain way, to achieve such varying results with the arashi. Triangular, on a diagonal, straight forward and wrapped very tightly.... once we had our materials bound we went outside and began the first of five dips. The first dip is always my favorite, watching that teal green transform to deep blue before my eyes. Once we got into the rhythm of the dipping, I made herbal tea and coffee for everyone, and we enjoyed a lemon slice and shortbread in the warm sun. When the dipping was done and we rinsed the shibori, the excitement in everyone was as high as the sky. It's so satisfying to see the results of things that you've worked on for the last three hours, especially a process that is new to you. I look forward to seeing my students wear their silk scarves, and enjoying their new tea towels at home. I offer 3-5 beginners shibori workshops each year. It's limited to 6 students per workshop- we get lots of one on one time! For workshop information please visit www.campfirequilts.com The beautiful Memorial Park in Houston lends a bit of a natural respite to those of us living in the city. The 3 mile loop is great to run or walk, and when the temperatures drop here, that's one spot I run to. Infront of the golf course is a patch of maintained garden, the sort that rotates color every 2-3 months. I had been eyeballing a dense thicket of golden marigolds for weeks, thinking how I would never get my hands on that many marigolds again, or at least not this season. The following week my girlfriend and I walked passed them, and with December creeping in, I knew they'd be gone any day. The next morning I called the supervisor of the greens to explain my need for those marigolds (!), and told me they had been pulled out that morning at 6am! After speaking to the head gardener, she shared directions to a secret road that would lead me through the park, through the golf course, and to a dumpster, where all the marigolds were waiting, to make their way into the landfill. As I drove up, a beautiful orange and green mirage lay before me. I was giddy with excitement. I quickly went to work and began to cut all the flower heads off, tossing them in a bag. With one full trash bag, it was time to go home and get to work, and experiment with a flower I had never had a chance to work with first hand. DYEING WITH MARIGOLDS
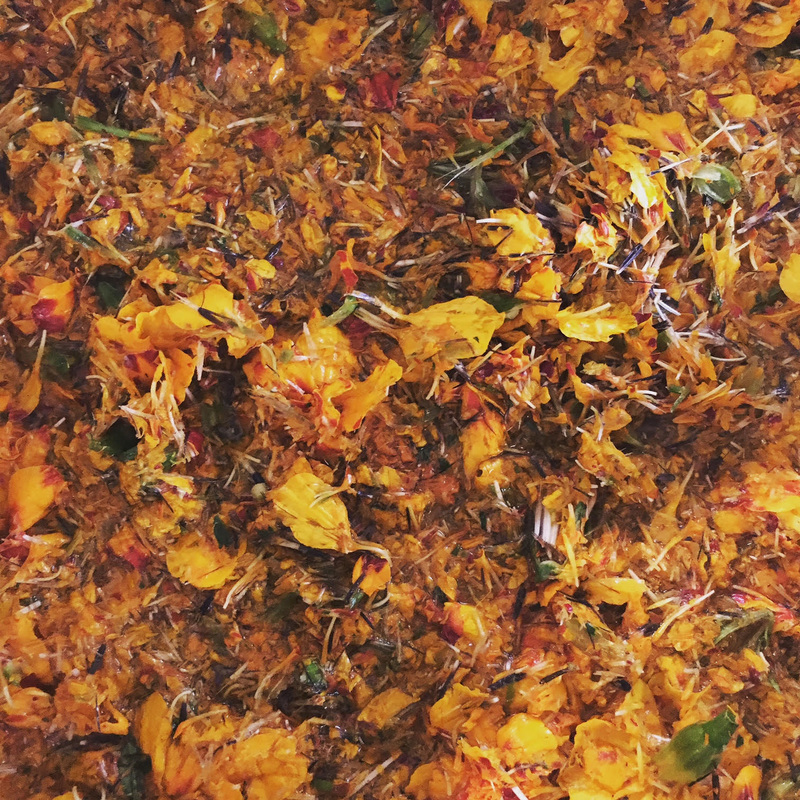
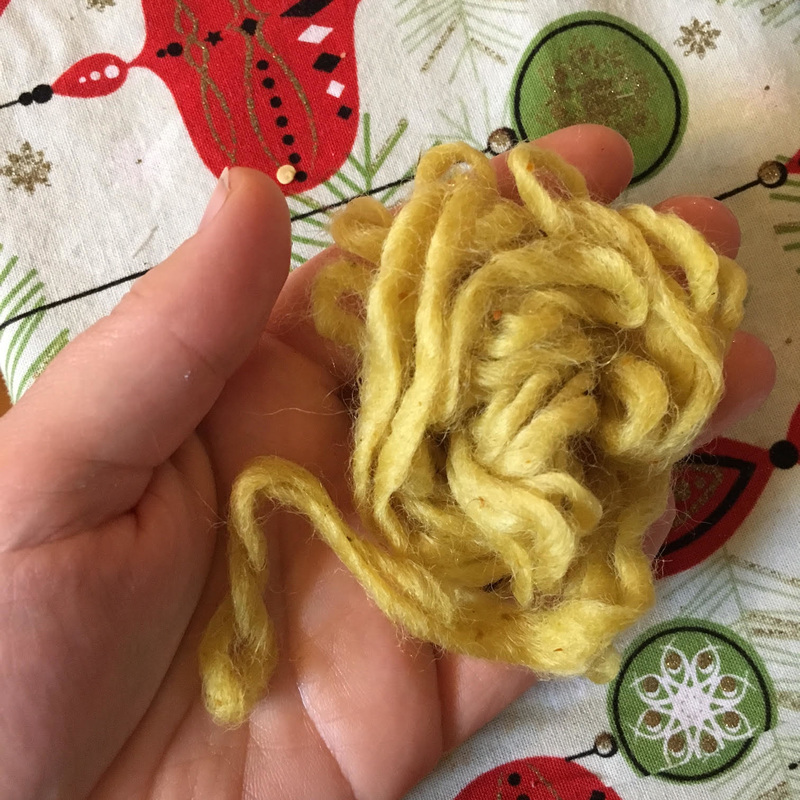
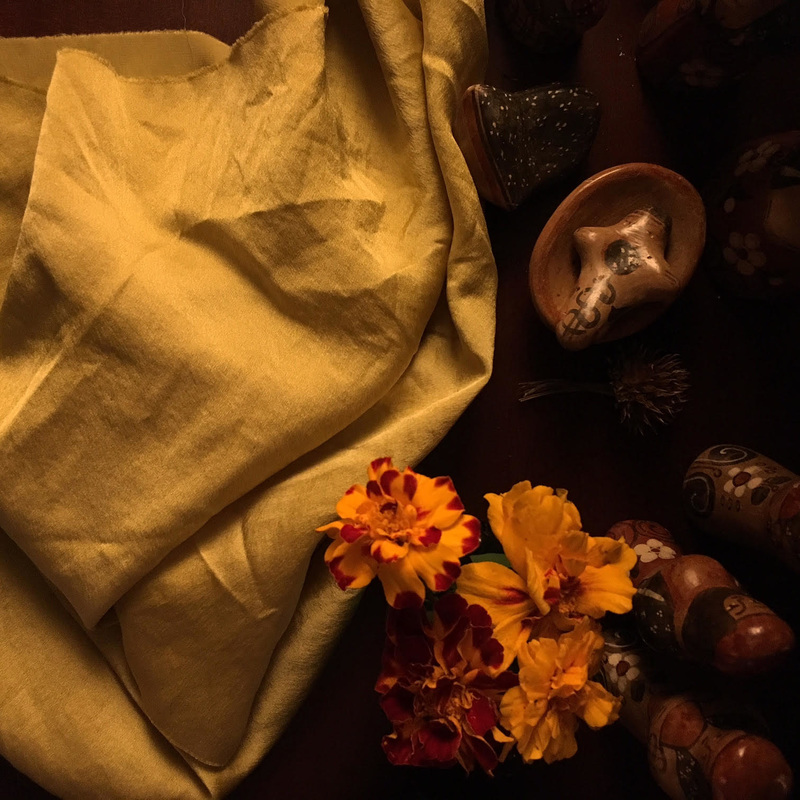
-Fill a large pot at least half full with marigold flowers. Try not to include the stems. -Fill them to cover with water. Allow to sit overnight. -Next day, I used a hand blender to chop the flowers and help release the dye. -Bring the flowers slowly to boil, and allow them to simmer for one hour. -Strain into another pot. Now you have your marigold dye. Some people call this the 'dye liquor'. I used linen, cotton, silk and a small piece of wool to test fibers with the dye. The silk and linen were most successful. Prior to submerging the fibers into the dye pot, I had mordanted the linen and cotton with alum. I then simmered the fabric in the marigold dye for an hour. I then let it sit in the pot overnight. The following day I removed the items and placed them straight into my dryer. I allowed them to cure overnight, without rinsing. A gentle wash then properly rinsed them. The resulting colors are a warm yellow, with a hint of chartreuse. The charmeuse silk is divine, and like all silk, soaks up natural dye wonderfully. Linen is an absolute favorite fabric of mine to quilt with and I am glad to say the linen turned out beautifully, too. If you're ever eye balling a field of marigolds, don't hesitate to ask the land owner, or park conservancy for that matter, if you can have them! |
AuthorA place to share my quilting process, bits and pieces from parenting and home educating, and other discoveries. Join in the conversation and follow along on Instagram @campfirequilts Archives
December 2021
Categories
All
|
|
|

 RSS Feed